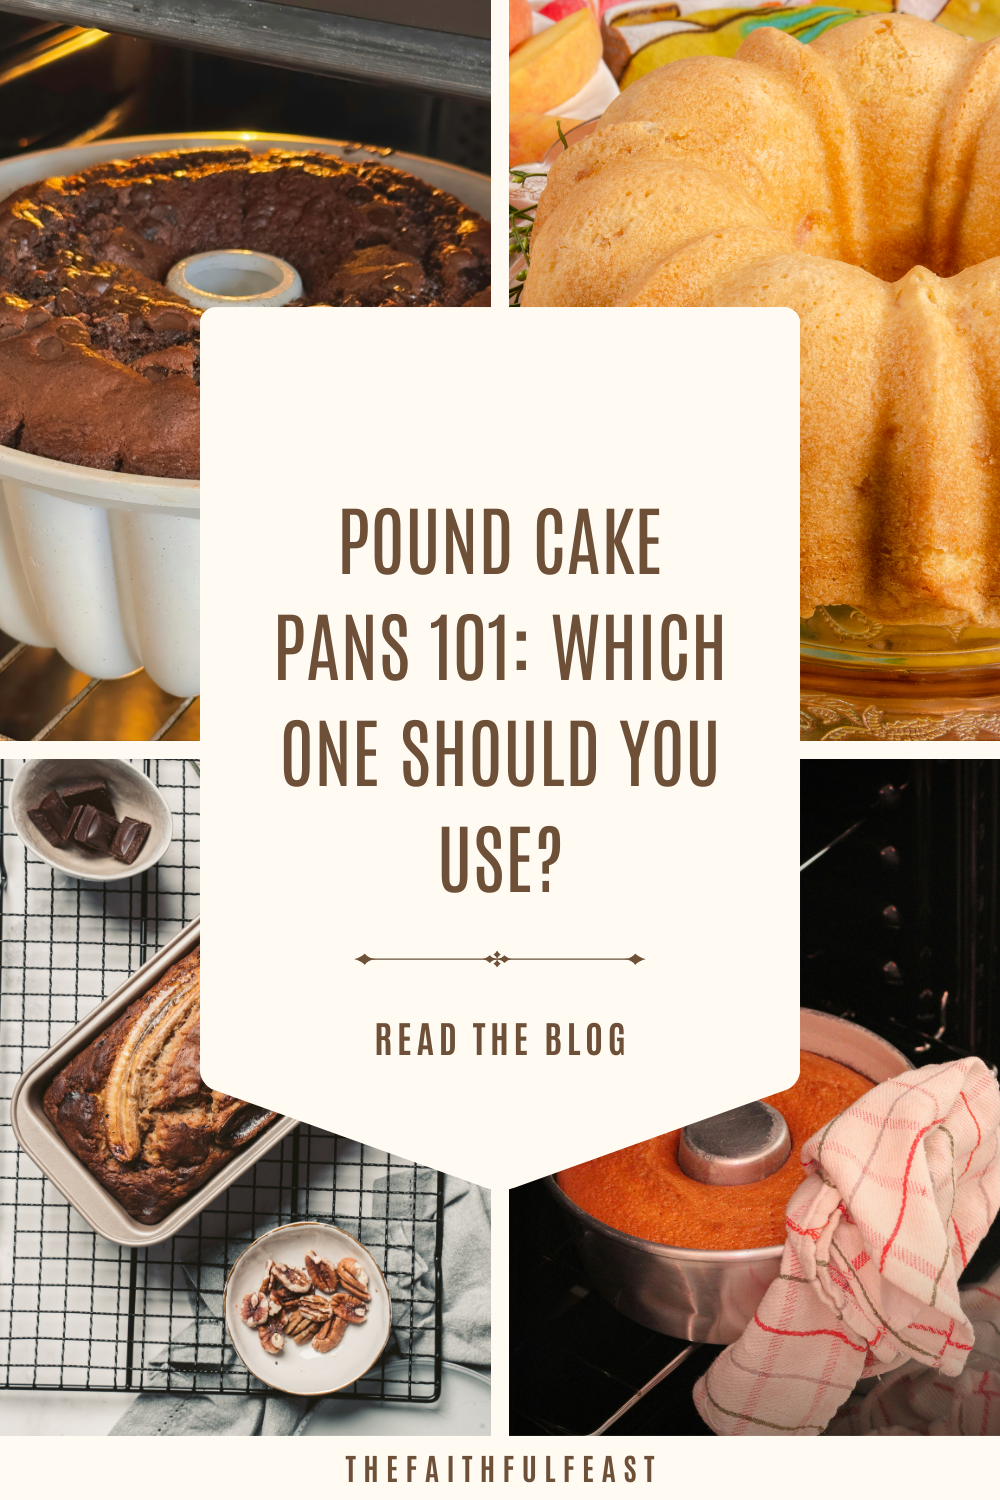
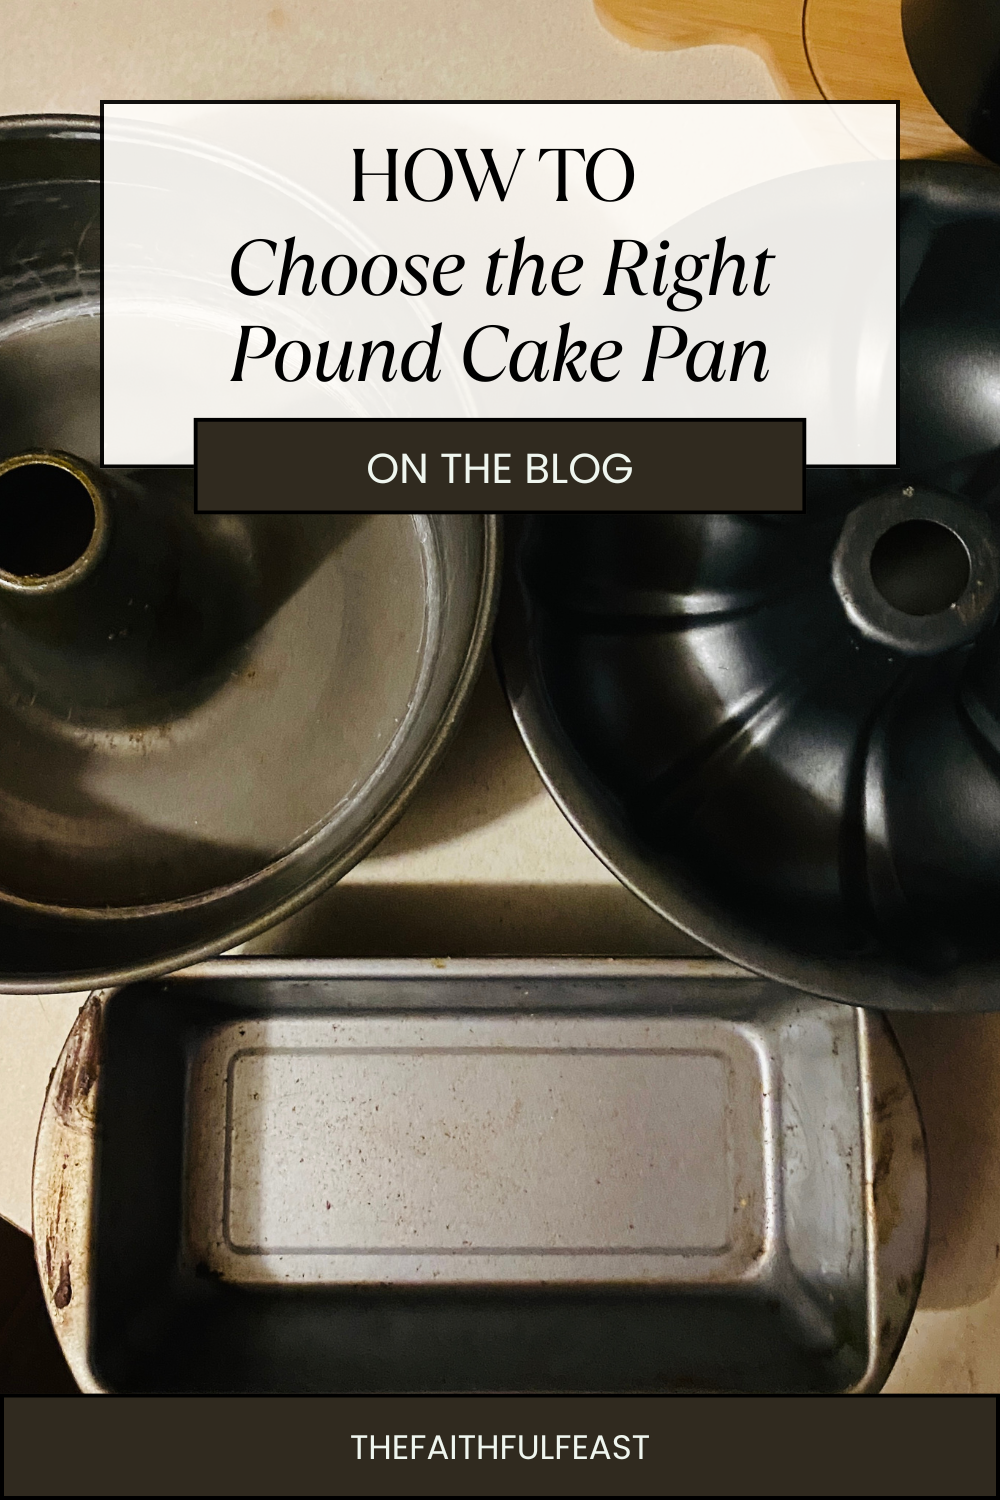
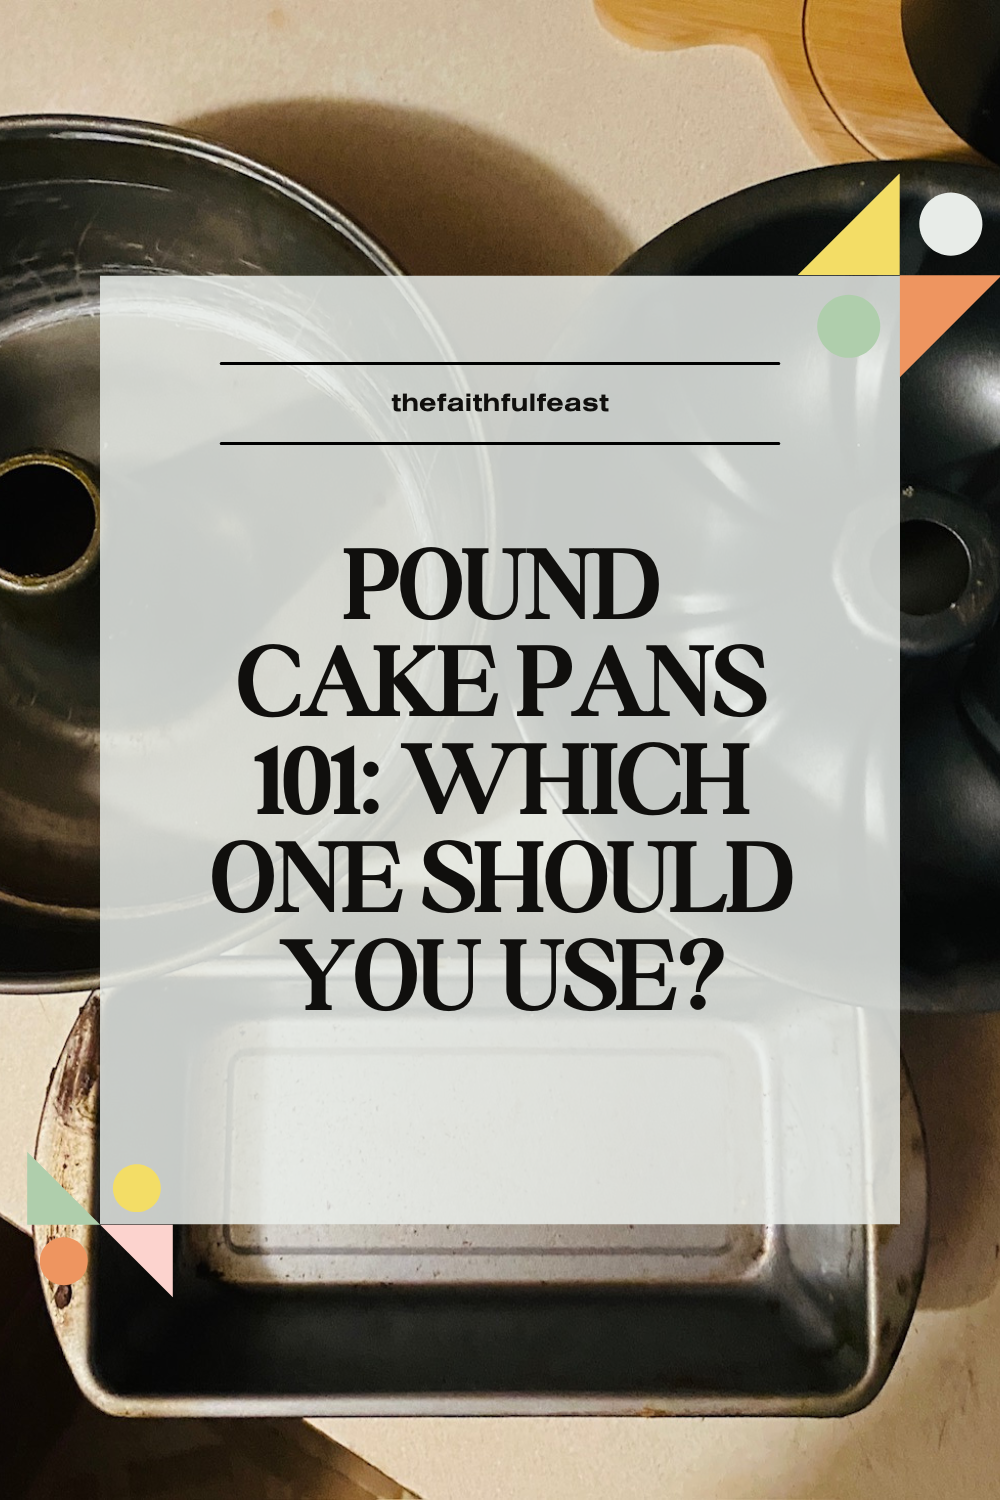
Pound Cake Pans 101: Which One Should You Use?
This post may contain affiliate links. I only recommend items I use and love. Thank you for supporting my work.
Pound cake is one of those humble, faithful desserts that shows up for every season of life—Sunday dinners, fundraisers, holidays, and “just because” baking days. But one question trips up even confident bakers:
Which pan is best for pound cake and how do you adjust the recipe when you switch pans?
Let’s walk through the three most common pound cake pans: tube pans, bundt pans, and loaf pans: what each one does best, how to adjust your recipes, and how to prep them properly so your cake releases cleanly every time.
The Tube Pan
What it is:
A tube pan has straight sides and a removable bottom with a center tube that runs through the cake.
Why bakers love it:
Excellent heat circulation
Tall, even cakes with a fine crumb
Easy to slice cleanly for serving
Best pound cakes for tube pans:
Traditional vanilla pound cake
Butter pound cake
Cream cheese pound cake
Sour cream or buttermilk pound cakes
If you’re baking a dense, buttery, old-school pound cake, this is your pan.
Recipe adjustments:
Most standard pound cake recipes are written for a 10-inch tube pan
Batter volume: about 10–12 cups
Baking temperature: 325°F is ideal for slow, even baking
Baking time: 70–90 minutes, depending on density
How to grease a tube pan:
Brush every surface—bottom, sides, and center tube—with pan-release spread (see below)
Dust lightly with flour
Tap out excess flour
Chill the pan briefly if your kitchen is warm (optional but helpful)
The Bundt Pan
What it is:
A bundt pan has fluted or decorative sides and a fixed center tube.
Why bakers love it:
Visually stunning with minimal effort
Perfect for glazes and dusted sugar
Makes simple cakes feel special
Best pound cakes for bundt pans:
Lemon pound cake
Marble pound cake
Cinnamon swirl or spiced pound cakes
Pound cakes with a glaze (lemon, vanilla, citrus)
Avoid cakes with heavy fruit chunks unless well-coated in flour—they can stick in crevices.
Recipe adjustments:
Use recipes with slightly more moisture
Batter volume: 10–12 cups (same as tube pan, but check your pan size)
Bake at 325°F
Start checking at 60–75 minutes
If adapting a tube pan recipe, no ingredient changes are usually needed—just watch bake time.
How to grease a bundt pan (this matters!):
Use a pastry brush to work pan-release (see below) and spread into every groove
Pay special attention to sharp edges and deep ridges
Light flouring is optional if your release is well-made
Let the cake cool 10–15 minutes only, then invert. Waiting too long increases sticking
The Loaf Pan
What it is:
A rectangular pan, usually 9×5 or 8½×4½ inches.
Why bakers love it:
Simple, familiar shape
Great for gifting or slicing
Easier portion control
Best pound cakes for loaf pans:
Vanilla or chocolate pound cake
Cream cheese pound cake
Swirl pound cakes
Smaller-batch or test recipes
Loaf pans are perfect when you want two smaller cakes instead of one large one.
Recipe adjustments:
One standard tube/bundt recipe = 2 loaf pans
Fill loaf pans ⅔ full
Bake at 325°F
Baking time: 50–65 minutes
If you only want one loaf, cut the recipe in half or freeze the second loaf.
How to grease a loaf pan:
Brush pan-release spread (see below) on bottom and sides
Line with parchment paper (optional but great for easy removal)
Light flouring if not using parchment
Bakery-Style Pan Release Spread
This spread will keep your cakes from sticking, regardless of the pan you choose.
Ingredients:
½ cup all-purpose flour
½ cup vegetable oil
½ cup shortening
Instructions:
Add all ingredients to a bowl
Whisk or beat until smooth and creamy
Store in an airtight container at room temperature for up to 3 months
How to use:
Apply with a pastry brush
A thin, even layer is all you need
No aerosol sprays required
This works beautifully for tube pans, bundt pans, loaf pans, and even muffin tins.
Final Thoughts: Match the Pan to the Cake
If you remember nothing else, remember this:
Tube pan → classic, dense, traditional pound cakes
Bundt pan → moist cakes with glazes and visual flair
Loaf pan → everyday baking, gifting, and portion control
When you choose the right pan and prep it well, your pound cake will be awesome!
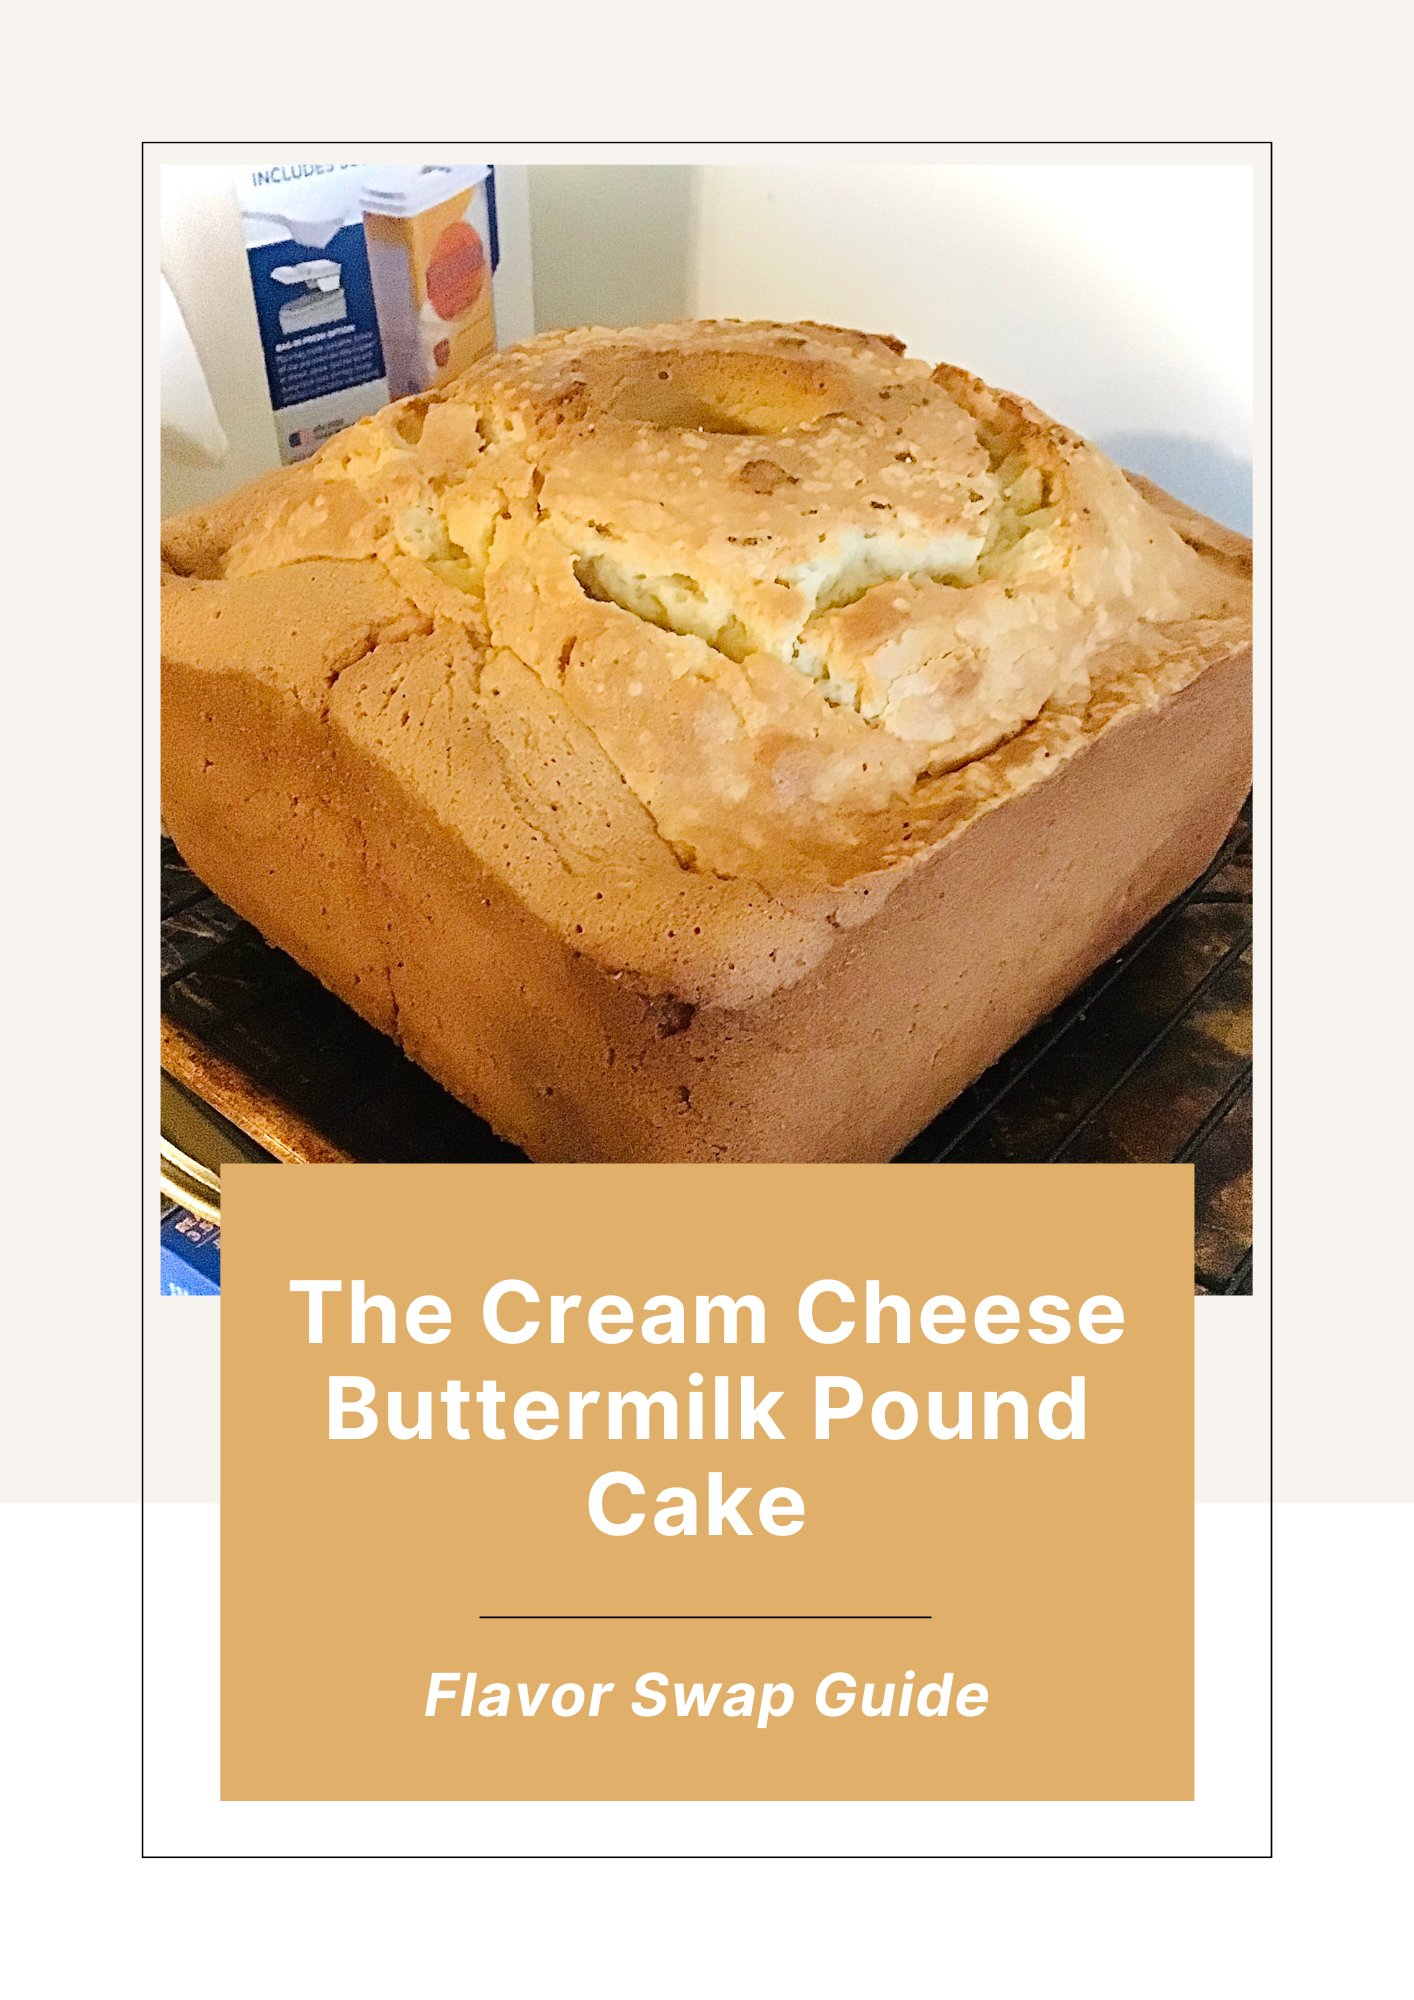
Okay, ready to bake? We’re gonna take one of my most popular recipes, this cream cheese buttermilk pound cake, and adjust it for whatever pan you choose.
Here’s the original recipe, using a tube pan.
Cream Cheese Buttermilk Pound Cake
Ingredients
1 cup (2 sticks) unsalted butter, softened
8 oz cream cheese, softened
2 ¾ cups granulated sugar
5 large eggs, room temperature
3 cups all-purpose flour (I love using this flour in all of my cakes)
½ teaspoon baking soda
½ teaspoon salt
1 cup buttermilk* (or whole milk with 1 Tbsp white vinegar)
1 tablespoon vanilla extract
Tip: Let the ingredients reach room temperature for a smoother batter and even rise.
Want to turn this base recipe into five delicious flavors? Click the image below to grab the flavor guide!
1) 10-inch Tube Pan Version
Why use a tube pan:
Tall, classic shape helps even heat reach the dense batter, giving a beautiful rise and a tender interior.
Pan prep:
Grease the bottom, sides, and inner tube thoroughly with your pan release spread (recipe below), then dust with flour and tap out excess.
Baking:
Fill the tube pan about 2⁄3–¾ full with batter.
Bake at 325 °F for 70–80 minutes.
Check doneness at 70 minutes with a toothpick. It should come out clean or with a few moist crumbs.
Why shorter bake than bundt: Tube pans center heat efficiently, so the cake cooks in slightly less time.
2) 10-inch Bundt Pan Version
Why use a bundt pan:
Traditional presentation, decorative surface for glazes, slightly wider shape than a tube pan.
Pan prep:
Work pan release spread into every groove with a brush. Unlike tube pans, some bundts have nooks where batter can cling. Thorough greasing helps this cake release perfectly.
Baking:
Fill ⅔–¾ full.
Bake at 325 °F for 75–85 minutes (same as the original).
Test doneness from the center and also toward the outer edges of the pan.
Tip: If your bundt has deep ridges, start checking at 75 min and cover loosely with foil if the top browns too fast.
3) Two Standard Loaf Pans (9×5″) Version
Why use loaf pans:
Great when you want two smaller cakes, easier slicing, or gifting.
Pan prep:
Grease each pan with pan release spread and (optional but helpful) line with parchment long-ways for easy lifting. Dust a light layer of flour or leave parchment unfloured.
Baking:
Divide batter evenly between two loaf pans.
Bake at 325 °F for 55–65 minutes.
Start checking at 50 minutes. Loaf pans bake faster because they’re shallower.
What to look for: Toothpick in the center should come out clean or just a few moist crumbs.
This pan release spread will make your pound cake come out cleanly whether using a tube, bundt, or loaf pan.
Pan Release Spread
Ingredients
½ cup vegetable shortening
½ cup neutral oil (like canola)
½ cup all-purpose flour
Instructions
Mix all ingredients in a bowl until smooth.
Store in an airtight container at room temp up to 3 months.
Whenever you bake: use a pastry brush to coat every surface of the pan.
How to grease each pan:
Tube pan: brush into the center tube first, then sides and bottom. Dust with flour.
Bundt pan: brush release into each groove and curve — the more detailed the pan, the more thorough you need to be. Tap in flour if your recipe calls for it.
Loaf pans: brush bottom and sides, lift a bit of the batter while you go so the grease doesn’t pool at the bottom.
🧁 Extra Pan Notes
Volume check: The base recipe yields about 10–12 cups of batter, perfect for a 10-inch tube, 10-inch bundt, or two 9×5 loaf pans.
Oven spot: Middle rack, no foil until toward the end only if browning too fast.
Cooling: Let cakes cool 10–15 minutes in the pan before turning out. This helps “set” edges so they release cleanly without tearing the crumb.
This is one of my favorite cookbooks (so much so I’ve gifted several copies). I love Kardea’s heart for cooking delicious meals without breaking the bank. When you want to feed your people, it doesn’t have to be fancy. If using what you’ve got hand to cook a tasty meal sounds like you, you’ll want to add this cookbook to your kitchen.
From Kardea Brown: Growing up in a household with a single parent taught me how to make use of things we already had. She made gourmet meals with simple kitchen staples. I invite readers to do the same with my twist on Old School Classic recipes.
Kardea Brown is back with this practical and flavorful cookbook everyone needs. Offering crowd and palate pleasing dishes from morning to noon, and night.
SAVE ON PINTEREST!


Hi, I’m Regina of The Faithful Feast. I'm also a writer and catering business owner. I live in the Buckeye State with my wonderful family, where our weekends are often filled with football games and faith-filled conversations. I’m passionate about encouraging women to notice God’s goodness in everyday life, especially over a cozy cup of tea. Whether I’m sharing a soul-warming recipe or writing words that encourage you, my heart is to inspire you to find joy and purpose right where you are.